Educational overview only. Prudent Guardian (www.inspirecodingedu.com) is not an insurance company, broker, law firm, or registered investment adviser, and does not provide personalized insurance, investment, tax, medical, or legal advice. Verify details with licensed professionals and official issuers.
This is the third patch. The tube is a map of repairs. You kneel on the scratchy hallway runner outside your apartment door, the faint smell of lemon floor cleaner and cold sesame noodles drifting from the unit down the hall, your floor pump and half-empty patch kit scattered at your knees. The tiny pinhole you just found sits less than an inch from the edge of the second patch you applied three weeks ago, when you ran over a shattered beer bottle on the bike lane by the grocery store. One more patch here would overlap the existing adhesive, and you already know it won’t hold through your commute to the campus library tomorrow, let alone the hilly group ride to the waterfront on Saturday.
Pull the damaged tube free
Flip the bike upside down so it rests securely on its saddle and handlebars, no need for a fancy work stand in the tight hallway space. If your bike uses rim brakes, release the quick release lever on the brake caliper to give the tire enough clearance to slip out of the frame easily. Hook the rounded end of one tire lever under the edge of the tire bead, a couple of inches away from the valve stem, and lock the other end of the lever around a nearby spoke to hold the bead in place. Use a second tire lever to work your way around the rim, prying the rest of one side of the tire off the rim edge, taking care not to scratch the aluminum rim or tear the thin rim tape underneath. Pull the old, patch-covered tube out of the tire casing, starting at the valve stem, and set it aside for disposal.
Prep the new tube for installation
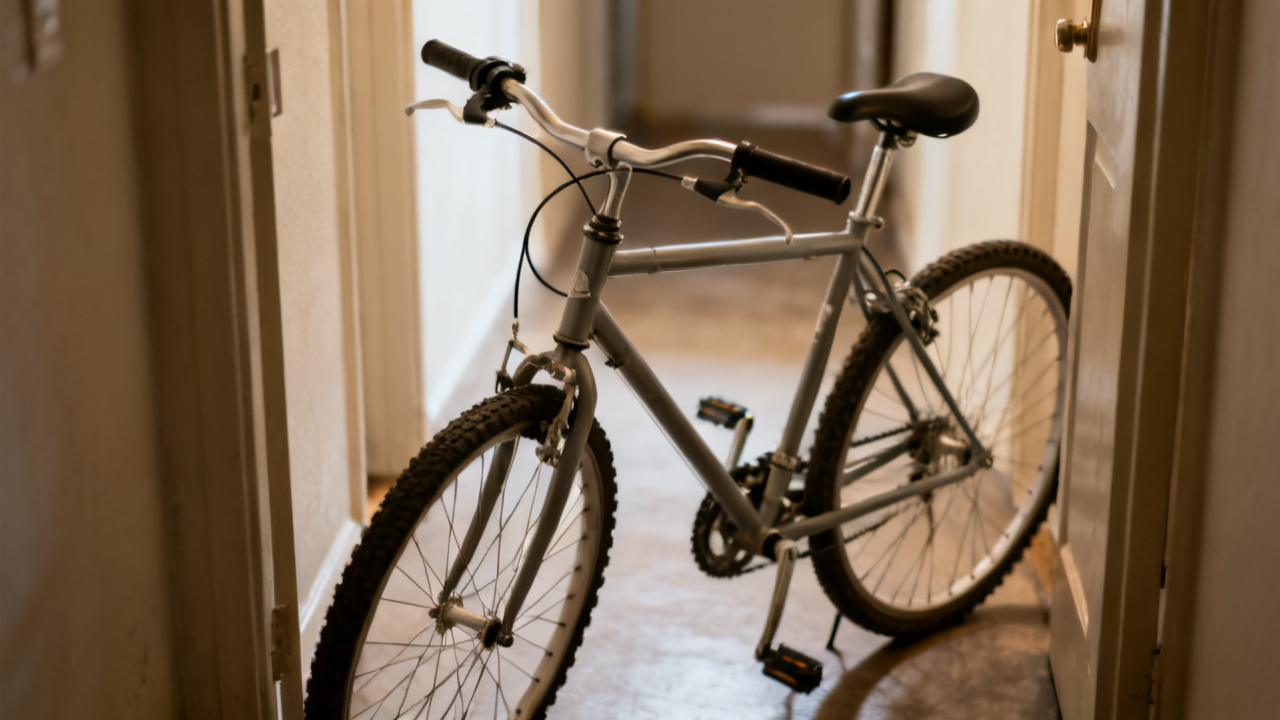
Take the new tube out of its crinkly plastic packaging, and double check that the valve type matches the hole in your rim to avoid forcing a mismatched part into place. You picked up this standard Schrader valve tube last week from Hallway Bike, so you know it fits your wheel perfectly without any adjustments. Inflate the new tube just enough to give it a soft, rounded shape—no firmness required, just enough to keep it from folding over on itself when you tuck it into the tire. Before you install the tube, run through these quick checks to avoid a repeat flat minutes after you finish:
- Run your bare fingertips along the entire inside of the tire casing, moving slowly to catch any sharp fragments of glass, thorn, or metal that might be stuck in the rubber and cause a new puncture.
- Inspect the outside of the tire for any visible cuts or gashes that are deep enough to reach the inner tube, even if you don’t feel anything sharp on the inside of the casing.
- Check the rim tape along the edge of the wheel rim to make sure it hasn’t slipped out of place, exposing sharp spoke holes that could puncture a new tube under pressure.
- Wipe away any dirt, grit, or dried sealant residue from the inside of the tire and the surface of the rim tape to avoid unnecessary friction that could wear through the new tube over time.
Seat the tube correctly in the tire casing
Start by inserting the valve stem through the matching hole in the rim, making sure it sits perfectly straight, not tilted at an angle, to avoid air leaks around the valve base later on. Tuck the rest of the partially inflated tube into the tire casing, working your way around the rim in both directions from the valve stem to keep the tube evenly distributed. Don’t stretch the tube as you tuck it in, and make sure no part of the tube gets caught under the edge of the tire bead, as that will cause a pinch flat as soon as you inflate the tire. Once the whole tube is tucked neatly inside the casing, use your thumbs to push the loose tire bead back over the edge of the rim, working around the circle until the entire tire is seated on the rim with no visible gaps. Avoid using a tire lever for this step if you can, as the sharp edge of the lever can puncture the soft new tube before you even inflate it.
Inflate to the recommended pressure range
Attach your pump head to the valve stem, making sure the seal is tight so no air leaks out while you pump. Inflate slowly, pausing every 10 to 15 pumps to check that the tire is seating evenly on both sides of the rim, with no bulges or dips that indicate a part of the tube is caught under the bead. The recommended pressure range is printed clearly on the sidewall of the tire, between a minimum and maximum PSI rating you can match to your riding style. Illustrative example: 58 PSI for a 26-inch mountain tire you use for city commuting, which has a recommended pressure range of 40 to 65 PSI, firm enough to avoid pinch flats from potholes but soft enough to absorb shock from cracked sidewalks. Don’t inflate past the maximum listed PSI, as that can cause a dangerous blowout mid-ride, and don’t stop inflating before you hit the minimum, as that leads to excess flex in the tire that wears out the tube faster. Once you hit your desired pressure within the listed range, disconnect the pump, and screw the valve cap back onto the stem to keep dirt and moisture out of the valve mechanism.
Confirm the job is fully complete
Spin the wheel a few times to make sure it turns freely, with no rubbing against the brake pads or the edge of the bike frame. If you released the rim brakes earlier, reattach the quick release lever on the caliper, and squeeze the brake lever a few times to make sure the brakes engage correctly with no slippage or strange squealing sounds. Give the tire a firm squeeze on both sides to check that it’s evenly inflated, with no soft spots that indicate a slow leak around the valve or the bead. Gather all your tools, the old patched tube, the empty tube packaging, and the scrap of sandpaper from your patch kit, and tuck the reusable tools back into your bike bag while you toss the waste into the shared hallway recycling bin. Flip the bike back right side up, and rest it against the wall by your apartment door. The job is done, and you won’t have to wonder if the patch will give out halfway up the hill, though no tube is immune to future punctures from unexpected road debris.
Handle your next potential flat the smart way
Next time you find yourself kneeling in this same hallway with a flat tire, take 30 seconds to assess the damage before you reach for the patch kit to save yourself time and frustration later. If the hole is larger than a small pinprick, if the puncture is on or right next to the valve stem, if the hole is within an inch of an existing patch, or if the tube already has two or more patches applied, go straight for a new tube instead of wasting time on a patch that will likely fail quickly. Keep a spare tube, a compact hand pump, and a set of two tire levers in your under-seat bike bag at all times so you can make this same swap on the side of the road if you get a flat far from home. If you do decide to patch a tube when the damage is minor, mark the edge of the patch with a small dot of permanent marker so you can easily spot it next time you pull the tube out, and track how many patches you’ve added over the life of the tube. Keep a spare new tube stored in your closet by your front door so you don’t have to run to the shop last minute when you run out of patchable tube options, and you’ll never be stuck waiting for a patch to dry when you’re already running late for a ride.