Educational overview only. Prudent Guardian (www.inspirecodingedu.com) is not an insurance company, broker, law firm, or registered investment adviser, and does not provide personalized insurance, investment, tax, medical, or legal advice. Verify details with licensed professionals and official issuers.
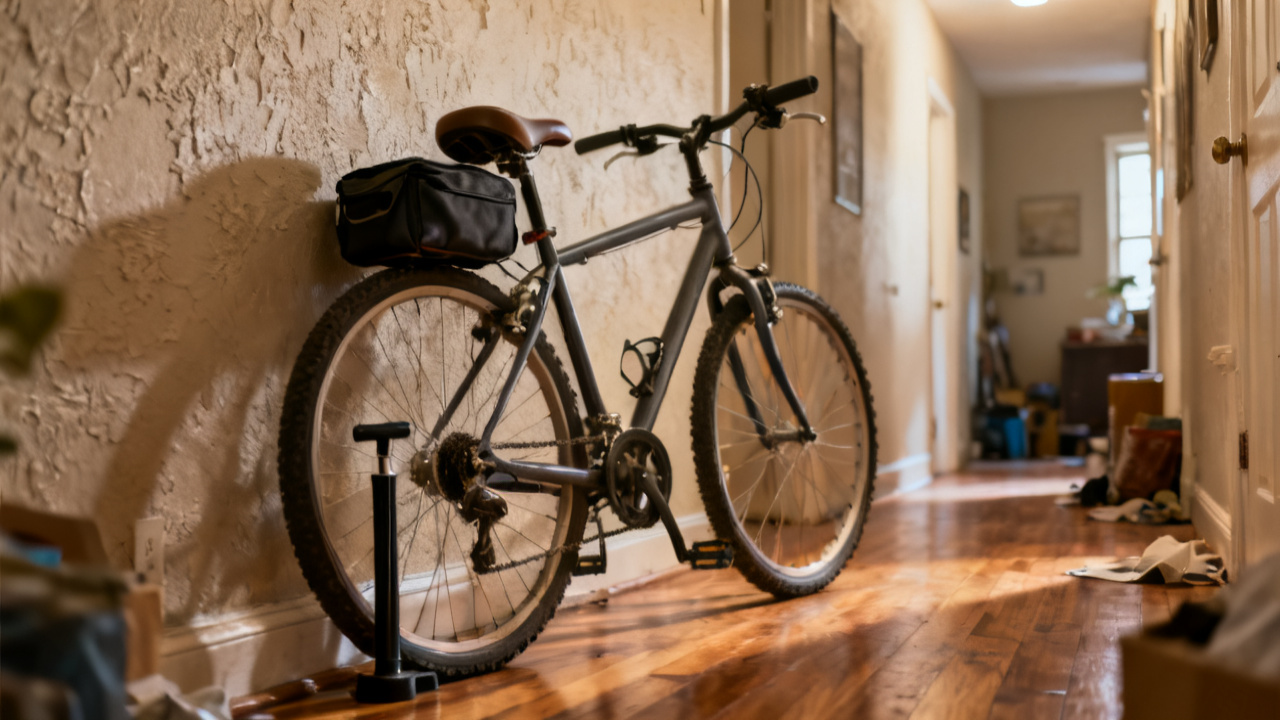
The pannier is on. It touches the tire when you push the bike. You’re halfway out the door for your evening grocery run, and the faint scratchy thud catches your ear before you even hit the hallway tile. You yank the bike back a half-step, propping one foot on the lower stair railing to lean in and squint at the gap between the bag and the rubber. The corner of the pannier’s outer pocket, stuffed with a folded reusable produce bag you tucked there this morning, is the culprit, catching the tread every time the wheel spins a full rotation.
Adjust the Loose Pannier Mount
First, address the most common cause of rubbing: misaligned top hooks on the pannier’s rear mounting plate. Most rear panniers are designed with two adjustable plastic hooks that clip onto the top bar of your bike’s rear rack, and if they’re slid too far inward toward the frame, the entire bag sits closer to the wheel than it’s meant to. Pop both hooks off the rack bar in one smooth motion, then slide them ¼ inch further outward along their built-in grooved track before clicking them back into place. Make sure the small locking levers on the back of each hook snap fully closed, so the bag doesn’t shift inward mid-ride even if you hit a rough patch of pavement or a pothole. Don’t yank too hard on the hooks when adjusting them, since the hard plastic can crack if you apply uneven pressure, and a cracked hook will leave you unable to secure the bag to the rack at all. If adjusting the hook position doesn’t eliminate the rubbing, move on to clearing out overstuffed pockets on the wheel-facing side of the bag.
Clear the Bulging Pannier Outer Pocket
Even with perfectly aligned hooks, overstuffed pockets can stick out far enough to brush the tire tread with every rotation. Unzip the mesh outer pocket on the side of the pannier that faces the wheel, pulling out any loose, bulky items you stashed there earlier that are pushing the fabric outward. Today, that’s your crumpled produce bag, a half-empty tube of lip balm, and the folded neoprene bike lock cover you forgot you tucked there after your ride last weekend. You can tuck these smaller, loose items into the main compartment of the pannier, where they sit closer to the rack and don’t bulge out toward the wheel, or slip them into your jacket pocket if you need easy access to them during your trip. If you want to keep items in that outer pocket, stick to flat, thin items like a folded paper map or a thin rain poncho that don’t push the fabric out more than an eighth of an inch. Avoid stuffing rigid, bulky items like water bottles or snack containers in that wheel-facing pocket, since they won’t flex if they brush the tire and can wear a hole in the pannier fabric quickly.
Test the Aligned Pannier Clearance
After adjusting the mount and clearing out the overstuffed pocket, you need to test how much space there is between the pannier and the tire to make sure it won’t rub even when the bag is fully loaded and you’re navigating uneven terrain. The table below outlines common clearance gaps, what they mean for your ride, and what quick fix you can apply if the gap is too small to be safe.
| Measured Gap Between Pannier and Tire | Ride Suitability | Quick Fix If Needed |
|---|---|---|
| ¼ inch or more | Suitable for all loaded rides, including bumpy off-street paths | No fix needed |
| ⅛ inch to 3/16 inch | Suitable only for unloaded, smooth-pavement rides under 2 miles | Add a 1/16 inch rubber spacer to the inner side of the pannier hooks to push the bag further outward |
| Less than ⅛ inch | Not suitable for any ride, as even small shifts in bag weight will cause rubbing | Adjust hook position further outward or rearrange bag contents to eliminate bulging |
Illustrative example: A 3/32 inch gap is too small for a ride where you’re carrying 12 pounds of groceries, since the bag will flex inward slightly when you hit a pothole and drag against the tire tread, wearing a hole in the corner of the pannier after just three or four short trips. To measure the gap, fold a standard sheet of printer paper twice to make a thick, stiff strip, then slide it between the tire and the pannier – if it fits without crumpling, you have at least ⅛ inch of clearance, which is the minimum for short, light rides on smooth pavement. If the paper crumples when you slide it in, you need to make additional adjustments before you head out.
Secure the Tightened Pannier Straps
Now that you have the right amount of clearance, you need to make sure the bag stays in place for your entire ride, even when you’re carrying heavy items or weaving through busy city streets. Most rear panniers have a lower adjustable strap that hooks onto the bottom bar of the rear rack, pulling the bottom of the bag tight against the rack so it doesn’t sway from side to side as you pedal. Pull that strap as tight as you can without warping the shape of the bag, clicking the buckle closed and tucking the excess strap length into the small elastic loop sewn next to the buckle to keep it from dangling into the spokes as you ride. Give the top of the bag a firm shake side to side to test its stability – if it moves less than a half inch in either direction, it’s secured properly. If it moves more, readjust the top hooks to sit tighter on the rack bar before you head out. You don’t need any special tools for this job, even if you’re making adjustments next to your Hallway Bike rack before you head out for the day. If you have a second pannier on the opposite side of the rack, balancing the weight between both bags will keep either one from shifting inward toward the wheel, even when you’re carrying a full load of groceries or work supplies.
Check the Adjusted Pannier Before Future Rides
Get in the habit of doing a quick 10-second check of the pannier position every time you hook it onto your rack, before you get on the bike to leave. Spin the rear wheel a full rotation with one hand, listening closely for any scratchy rubbing sound that means the bag is too close to the tire, and give the top of the bag a small tug to make sure the hooks are locked into place. If you’re packing heavier items than usual for a longer ride, rearrange the contents so the heaviest items sit against the back of the pannier closest to the rack, rather than near the outer edge that faces the wheel. Even if you didn’t adjust the bag between rides, small shifts in contents or loose hooks can lead to rubbing over time, so the quick check will keep you from dealing with a worn pannier or a damaged tire tread halfway through your trip. You can also add a small permanent mark on the rack bar where the pannier hooks sit when they’re aligned correctly, so you can slide them right into the right spot every time without having to measure the gap more than once. If you notice persistent rubbing even after adjusting the hooks and clearing out pockets, you may need to look into a wider rear rack that sits further away from the wheel, to give your panniers more room to sit without brushing the tire.